From the Desert to the Great Lakes

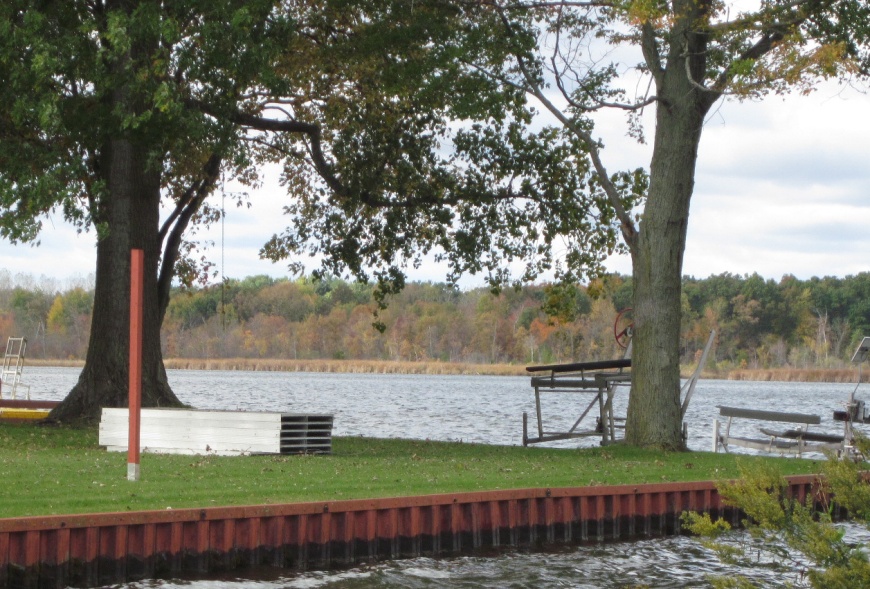
Portage Lake

Portage Lake

I have not written a blog in a very long time. I haven’t even been crafting much lately. I recently moved from Arizona to Michigan. In fact, I live next to a lake, not one of the Great Lakes, but a natural lake all the same. Michigan has a lot of small lakes and rivers. And rain.

For the past year I have been suffering from caregiver burnout. I was an unpaid caregiver for my disabled friend for about 8 years. I gave up working to take care of her. She is not able to move around much, and is very obese. I had a very small pension that I needed to contribute to the household, which means that I had no money to spend on myself, except for Christmas and birthday gift cards from my family.

Caregiver burnout is a very serious situation that you can easily find yourself in. When you are a caregiver, the person you are taking care of can be quite demanding, not in a dominating way, but constant “can you get me this”  so you are up and down and have little time to focus on your own needs. In Arizona, where I was living, there are adult day care centers and respite caregivers, and I really wish I could have been able to take advantage of the opportunities. The person I was caring for was extremely obese, and we simply could not afford to transport her anywhere, even if she had been willing to go someplace. Also, money was very tight and we couldn’t afford to have someone come in to give me respite, because I was not a priority, the person I was caring for was the focus of pretty much everything.  I was on call 24/7, with no days off, no vacation, and no understanding of the incredible amount of stress that builds up.

The symptoms of caregiver burnout are: (courtesy of helpguide.org)

  • Anxiety, depression, irritability
  • Feeling tired and run down
  • Difficulty sleeping
  • Overreacting to minor nuisances
  • New or worsening health problems
  • Trouble concentrating
  • Feeling increasingly resentful
  • Drinking, smoking, or eating more
  • Neglecting responsibilities
  • Cutting back on leisure activities

In retrospect, I had gotten to the point where I was suffering from almost all of these symptoms. In addition, her health had declined to the point where it was causing me physical pain to take care of her, because she was not able to do much. She became seriously ill, causing me to call 911. That’s when I snapped. I talked to my family members who live in Michigan, and I was offered the opportunity to move in with my brother. His wife has Parkinson’s Disease (yes, another caregiver job so to speak) and he needs to do a lot of traveling for his job. The difference is that I have family here that can pitch in, and my sister-in-law can do a lot of things for herself. What she needs is someone to be on hand to provide companionship more than anything else.

I recommend that anyone who is a caregiver, especially if they are feeling any of the above symptoms, stand up for yourself and demand help and time away. You can’t help anyone if you get sick.

The following websites are helpful resources for caregivers.

  • webmd.com
  • aarp.com
  • caring.com

If there is anyone out there who is a caregiver for someone with Parkinson’s Disease, please share any tips or resources.

Make sure to take care of yourself, so that you can take care of others

Do You Craft? Do You Have ROKU?

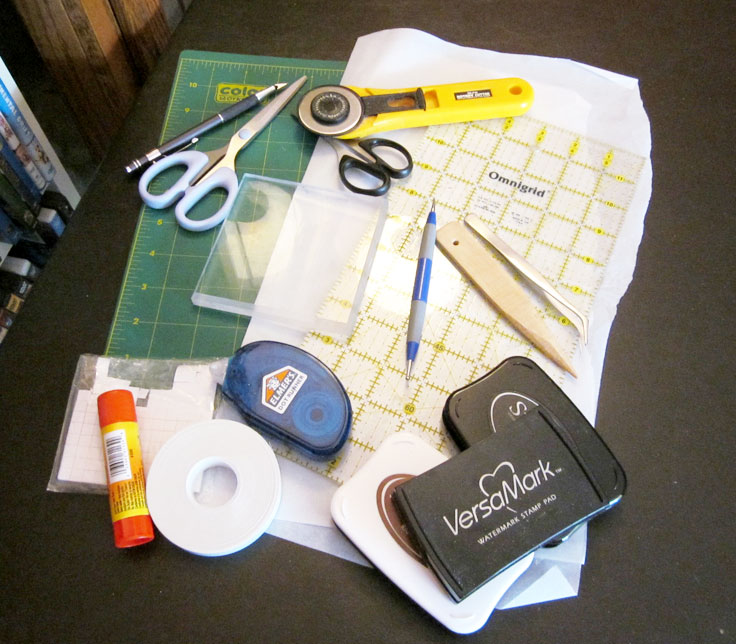
craftsupplies

Disclaimer:  I have not been reimbursed by any company for any product that I use in my crafting. I craft for the sheer joy of it, and I believe in sharing.

If you are a crafter who has been lamenting the fact that HSN is the only TV Shopping Channel that sells crafts, well check out Create and Craft USA. This is a 24/7 online shopping channel (www.createandcraft.com) that airs on your Roku, and part of the day on Dish Network and Direct TV.  If you don’t have Roku, Dish Network or Direct TV, you can stream the shows on your computer. The difference with this channel is that they take their time to show the products and usually have 2-3 craft demos during each hour. The pace is much more relaxed and I watch the shows for inspiration. It’s great to have on while you are crafting.

This is the American version of the UK channel that has been airing for around 15 years. They launched in the US just over a year ago, so you may not have heard of it.  The show is broadcast from the UK, but the products are usually shipped from the US (there are a couple of exceptions).  About 80% of the products that they sell are paper crafting products, but they are slowly expanding the line of products they sell. Just recently they started selling Lion Brand Yarn. One of the best things is that they have $7.95 flat rate shipping, you can buy a sewing machine and you would only pay $7.95. How crazy is that? And that is shipping per order, not per item.

Create and Craft USA airs live programming from 11:00 am to 5: 00 pm Eastern Standard Time. I live in the Southwest and the shows air in the mornings. I watch Create and Craft by streaming through Roku, and watch the shows while I am doing housework or crafting. During the live hours, the viewing audience is encouraged to respond via email with any questions, and they also have a chance to win one of the projects demonstrated on the air during each hourly program.

If you are a Heartfelt Creations fan, you will be thrilled to know that they launch new products about once a month on this channel, and there are some products that are exclusive only to Create and Craft.  Many of the products they sell are manufactured in the UK and are not generally available in the US. Hunkydory Crafts, maker of the some of the best paper crafting products I have ever used, started selling their products a few months ago on Create and Craft USA. If you have never seen Hunkydory Products, you are in for a treat.

Check out this new channel or browse the website. Who knows, some of your favorite products are available.

http://www.createandcraft.com

Can’t See the Forest for the Trees

It has been quite a while since I have written a blog. I think my last one was around Halloween time in 2015. I got really busy making Christmas presents, then birthday presents, and things got a little crazy for a while. I have barely been on the computer in the past couple of months, just long enough to clean out my email. I have been using my Kindle Fire more often, because it is so portable.

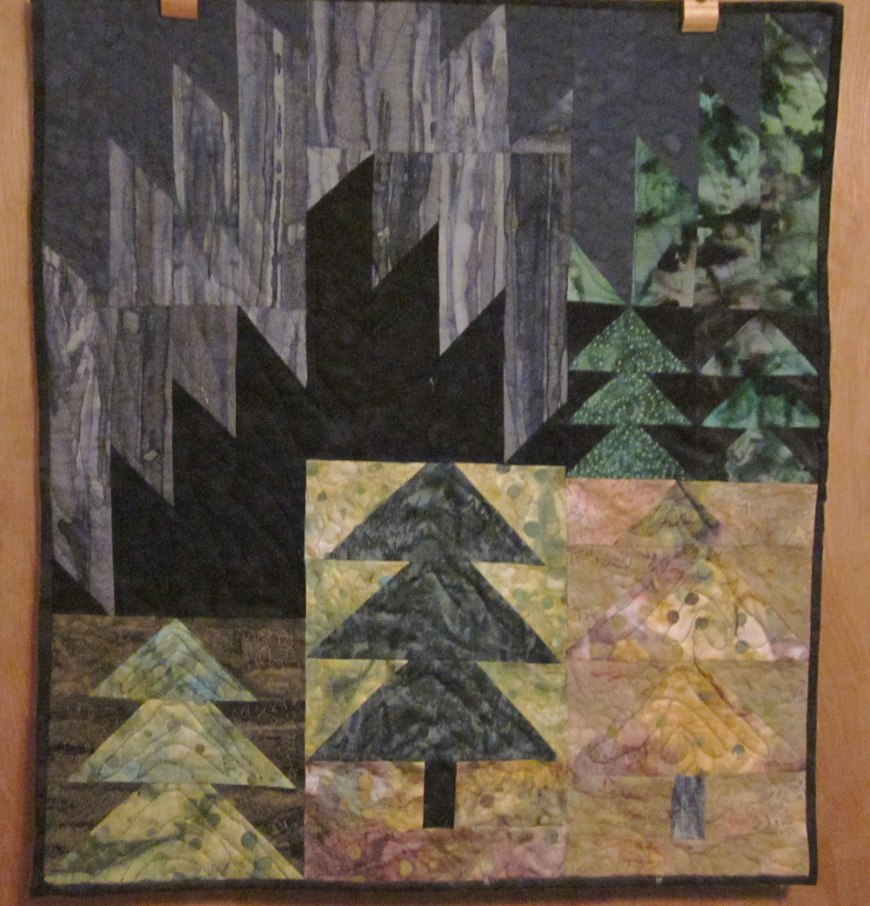
forest1

I thought I would share with you one of the birthday projects that I made for a friend. This is a very small scale version of a quilt pattern designed and made by Patti Carey, called Misty Pines. It was published in the January/February 2013 issue of McCall’s Quilting, and you can see many images of quilts that have been made from this pattern. Because of copyright issues, I’m not sure that I can copy an image from the magazine, so I have listed the link here:  http://www.mccallsquilting.com/mccallsquilting/articles/Misty_Pines_Dramatic_Trees_and_Mountains_Lap_Quilt_Pattern. You can also find images of this quilt on Pinterest and a few other places on the web.  Just search Misty Pines.

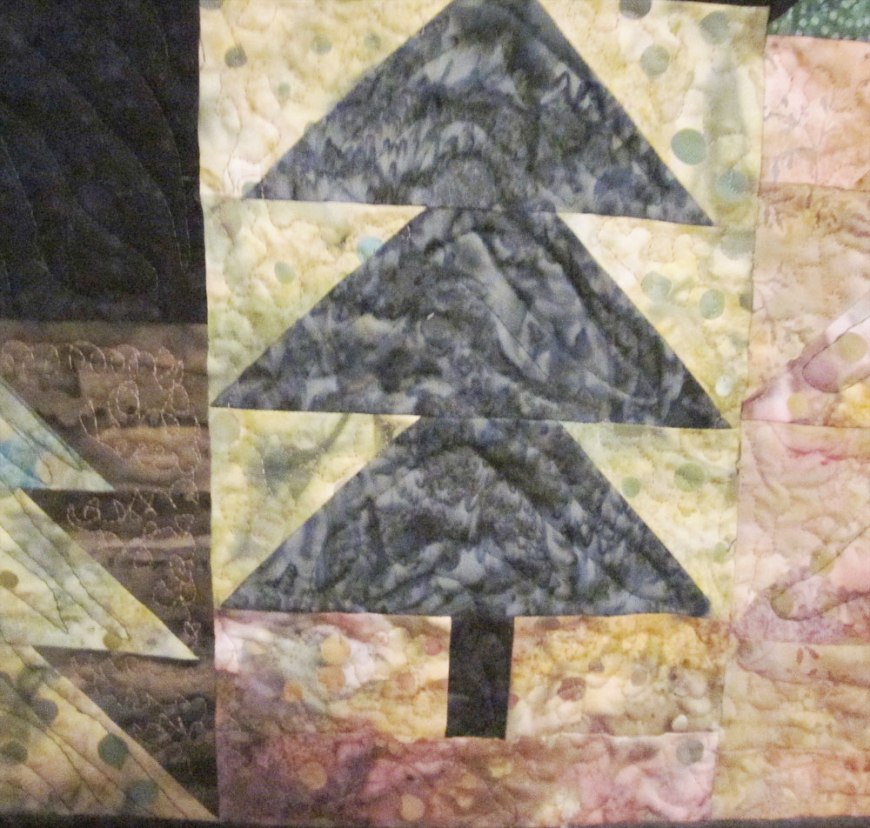
forest2

Basically I just put together blocks from various parts of the pattern to come up with what I named “Can’t See the Forest for the Trees.” The original quilt uses fabrics from Northcott’s Stonehenge line, which are shades of gray. I used gray, green and black batiks for my quilt. My friend loves this quilt; it hangs on her bedroom door. I would not call myself the best quilter in the world, but friends and family like the things that I have made.

Most of the projects that I make are cards, so this is a nice change of pace.  Right now I am busy making a bunch of birthday and Christmas presents, so I’m not sure when I will be writing another post.

Have a wonderful spring day!

As if I need an excuse to make cards

Today, October 3, 2015 is World Card Making Day. As if I needed an excuse. Well, I’m showing a couple of cards that I made earlier in September, then I need to do a little housework before I settle in for a major cardmaking session.

I may have mentioned that I belong to Paper Wishes Personal Shopper program, I get two kits: Premiere Dazzles and Paper Tole. The Dazzles kit comes monthly and I receive 4 sets of Dazzles, 6 12×12 sheets of paper and a surprise. The Paper Tole comes every other month and I receive 2 sets of Paper Tole and 6 sheets of paper. Both of these kits are only $12.99 including shipping. Every kit is a surprise and I love it!

I thought that I would show you what kinds of things you can create using one of these kits. I may have added something to each card from a previous kit, but all of the items used (with the exception of a piece of ribbon) came from a Personal Shopper Kit.

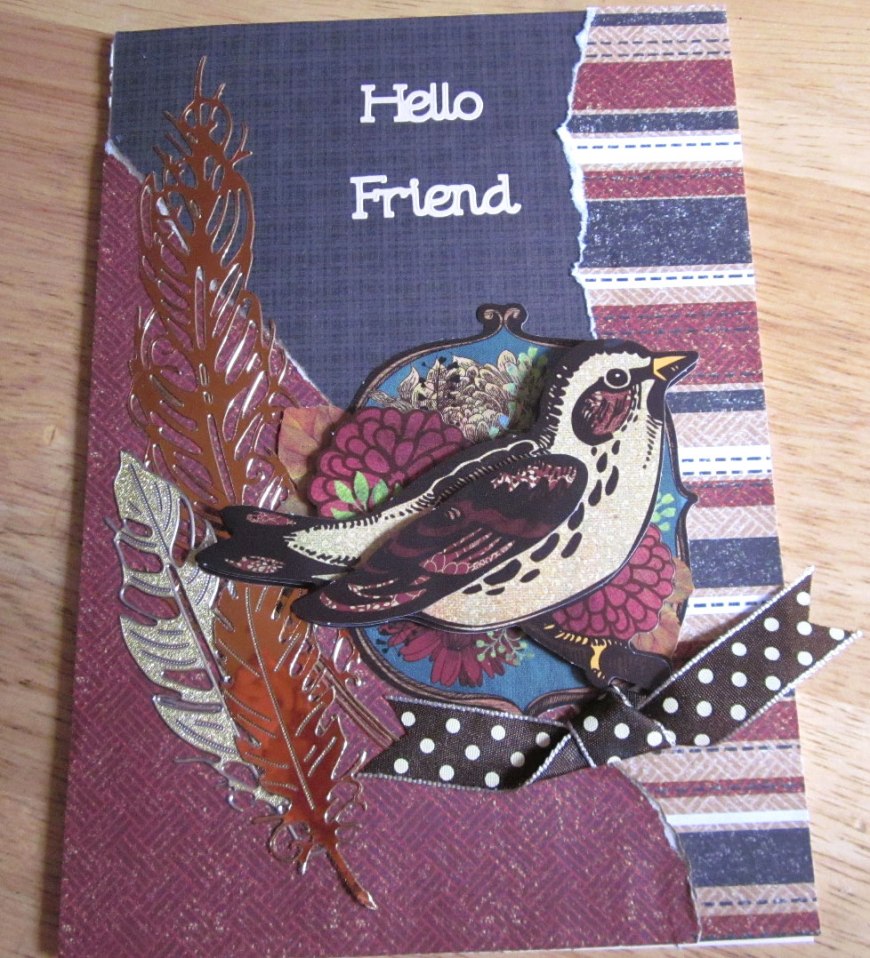
Hello friend bird cardHello Friend Card

With the exception of the Dazzles stickers used on this card, all of the papers and the paper tole came from a kit I received earlier this summer. The Dazzles are from previous kits, I think I received the feathers last year, and the ribbon is from my stash.  I decided that I wanted more of a rustic, “bird’s nest collage” feel to the front of this card. I covered the card front with dark brown tone-on-tone printed paper and tore a piece of dark rust colored paper and rust and brown striped paper, and layered them on the card. I picked a few feather Dazzles, pearl gold and copper, and placed them along the left edge of the card. I then used the bird design from the Serenity Paper Tole kit, and added a piece of knotted ribbon. I then used the Hello Friend Dazzles in light peach color on the top of the card.

halloween card

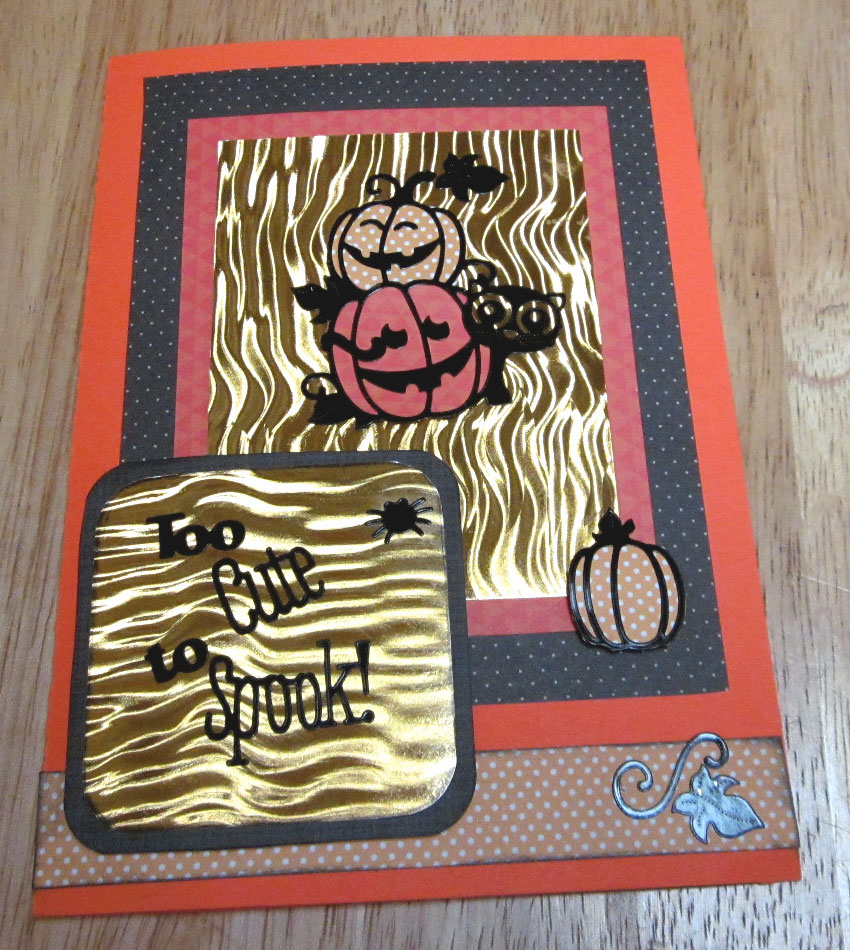
Too Cute to Spook Card

The gold ripple paper on this card came from a previous Dazzles set, but the Dazzles and the paper came from one of my Dazzles kits. I used orange cardstock from my stash for the card base. I am not really into Halloween anymore; we don’t get enough Trick or Treaters in my neighborhood to inspire us to decorate the house. But, these Too Cute to Spook Dazzles inspired me to make a fun card. You can back the Dazzles with paper, it’s easy if you just cut out chunks of paper and apply the Dazzles to a craft sheet. They peel up easily and you can stick the paper on the back and trim around. I used two colors of orange print paper on the stacked jack lanterns, and then stuck the Dazzles on a piece of gold ripple holographic paper. I then matted and layered the gold ripple paper on alternating layers of orange and brown paper. I placed the phrase “too cute to spook” on another piece of gold ripple paper, rounded the corners and matted it on brown paper. I cut a strip of the light orange dotted paper, inked the edges in black, and placed it on the bottom of the card. I backed a single pumpkin Dazzle with the same dotted orange paper and placed it on the lower right edge of the card, and a pumpkin leaf on the lower right edge of the paper ribbon.

Okay, I  will be getting ready to make a big bunch of Christmas Cards today, and maybe I’ll share one or two of them with you. Happy Card Making Day!

If you are interested in Hot Off the Press/Paper Wishes Personal Shopper Programs, here is a link: http://www.paperwishes.com/personal-shopper/monthly-scrapbooking-cardmaking-kits.html?WT.hotp_ct=home-ps-box

Christmas Cards the Pop and Shimmer

Christmas Cards Number 9 and 10

I saved these two cards for last because they are completely new techniques for me, and I used two brand-new die-cut card blanks from Hot Off the Press as the card bases. The first is one style of card that I have seen in several blogs, the Pop-Up Box.  The other is one of several Christmas themed “inside-out” card blanks: the snowflake design. It is a lot easier to start with a die-cut card blank than to figure out how to engineer them myself. I used Hunkydory Crafts previous cardmaking kits in making these two cards, with additional help from products purchased from www.paperwishes.com. Because these two cards are square-shaped, they will require additional postage if mailed. Envelopes are included in the die-cut card blank packages.

Additional Products Used:

Pop  up Christmas Card

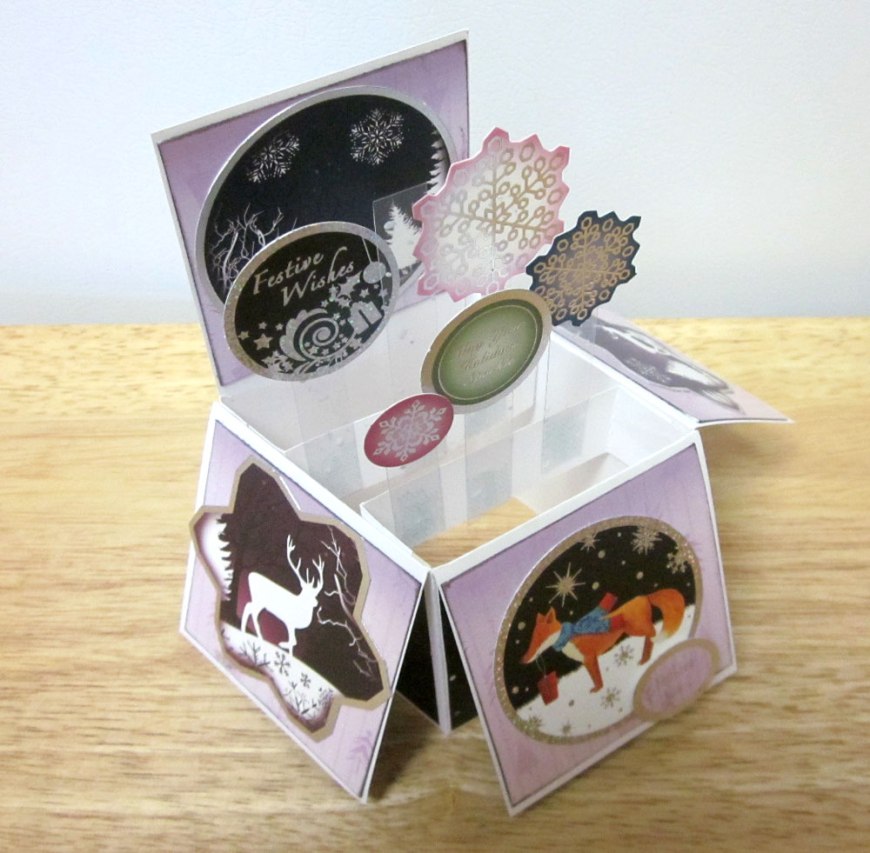
Card Number 9: Pop-Up Box

flattened pop-up box cardOne of the side-benefits of Hunkydory Crafts luxury cardmaking kits is that you are very likely to have some extra die-cuts, probably small ones, left after making your cards.  You are also likely to have some unusual shaped die-cuts as well. I had a little plastic bag filled with small and unusual shaped die-cuts that I was not sure how to use. This motivated me to purchase the pop-up card base, since these little die-cuts would work well for decorating the sides of the box and for the “pop-up” section of the card. There were several small 2 to 3 inch sized die-cuts with adorable animal artwork, some were snowflake shaped, and some were circles. These die-cuts fit perfectly on the box panels. I also had some small snowflake die-cuts and a few small die-cuts with sentiments. I used some scraps of the Snowfall acetate (the card-blanks come with acetate, but I chose to use the snowfall since I had some leftover cut pieces) for the pop-up pieces in the center. I used some black Adorable Scorable that had a multi-color snowflake printed design that matched the colors of the small snowflake die-cuts. I also had a mauve-colored piece of Adorable Scorable that had a tone-on-tone tree print that coordinated well with the black. The directions for using the Hot Off the Press pop-up card are very easy to follow and it did not take very long to put this card together. The card folds flat for mailing, and measures 5 ¾ x 6 inches. I love how this card turned out, it is so playful.

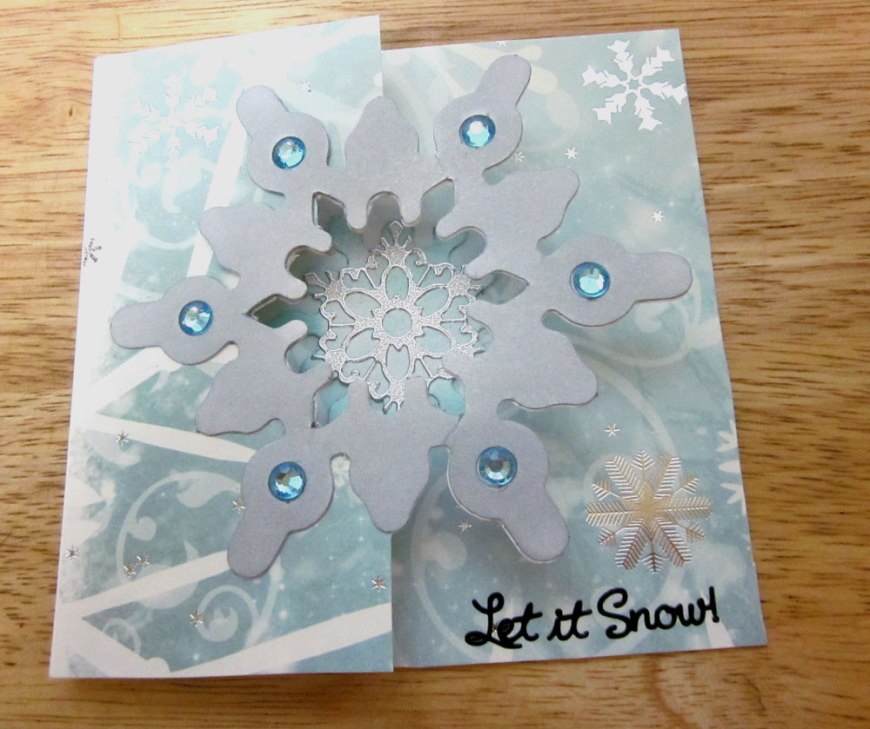
snowflake die-cut cardCard Number 10: Inside/Out Snowflake Card

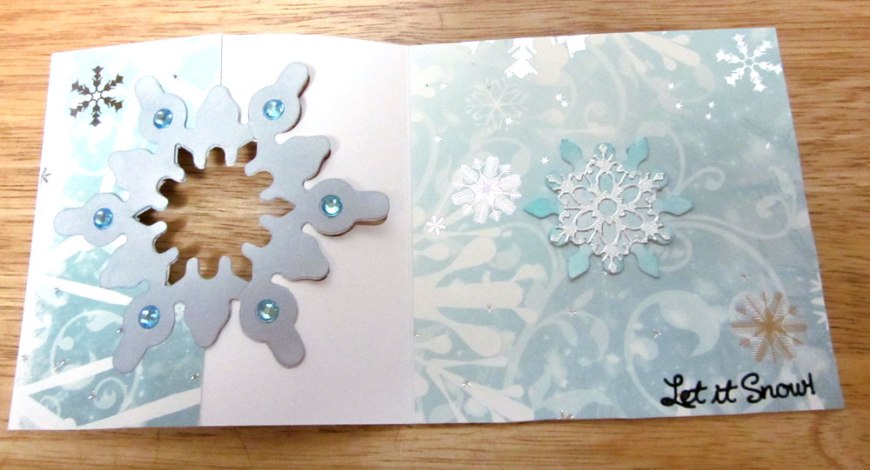
This is a really cute small card, it measures about 4 5/8 inches square. This card took a little more time to make because it involves popping out die-cut shapes. With each card is an additional piece of cardstock that has several die-cut snowflake shapes, and the front of the card has an additional die-cut snowflake that you can pop out to create a window. The card front has half of a snowflake die-cut so that the front of the card folds back on itself. The package also comes with a template you can use to cut out the center snowflake area. The largest of the die-cut snowflake shapes on the additional piece exactly fits over the die-cut shape of the card.

inside of snowflake inside out cardI had a piece of light-aqua and silver-foiled snowflake printed Adorable Scorable left over from the first Hunkydory kit from 2013. I thought this would make a beautiful card. I traced the pattern on the Adorable Scorable and have to tell you that it was not so easy to carefully trim away. Adorable Scorable is 350 gsm and quite sturdy; my craft knife had to work overtime on trimming out the shape. I do have to say that the snowflake print is gorgeous, and makes an excellent card. I used a silver metallic ink pad and a cosmetic sponge to apply silver ink to the large snowflake die-cut and glued it to the front of the card. I applied aqua ink to the snowflake die-cut that I popped out of the front of the card and placed it on the inside of the card so that it fit exactly within the window. Hint: use a glue stick, it allows you to make small adjustments in placement. I had a perfectly sized silver snowflake sticker that fit over the die-cut in the center. I added light blue rhinestones to small die-cut holes on the front of the card to give the card a finishing touch.  I used the “Let it Snow!” sticker from the black Christmas Words Dazzles set in the lower right corner of the inside of the card.

Well, I made my goal of making 10 different cards from my past Hunkydory Christmas card kits. I am now ready to make cards from my new kit, just in time for World Cardmaking Day on October 3, 2015. I am so excited and ready to craft!