I had a great time attending my very first scrapbooking event. There were a lot of people in attendance and I met some very nice ladies. I traveled by Valley Metro Light Rail, which has a stop right at the Phoenix Convention Center. I spoke with some women who live here in the Phoenix Metro area, but chose a “girls getaway” and booked a hotel room. I arrived a little early, because I didn’t know how long it would take to get there, and how long it would take to get through the registration process. The people handling this event did a really good job, at least from my perspective, I was handed a program that had a map of the vendors and classrooms inside the front cover. The classes were clearly listed by time and room number, so my class information was right at my fingertips. Plus, I got two free gifts for registering online: a Stampin’ Up Paper Pumpkin kit and a Monte Paper Mills 6×6 inch Hello Darling paper pack.
 My only complaint, not that it is a really big one, is that I have a bad knee and I can’t stand for long periods of time, and there was not a lot of seating near the lobby. After I signed in for the online registration, I went outside and sat until the Vendor Faire opened up for the regular attendees. I did not choose to pay for early admission to the Vendor Faire. It was a beautiful morning and a bright blue sky day (typical for Arizona) so I had a nice time visiting with a fellow event attendee. She was one of the volunteers for the event. I think that giving people the opportunity to volunteer with the event, such as registration and classroom assistants, and providing them with some nice compensation is a really good idea. (Volunteer information for the Phoenix event is stated in this link: http://www.ckscrapbookevents.com/CKScrapbookConventions/CKCPhoenix/Volunteers.aspx)
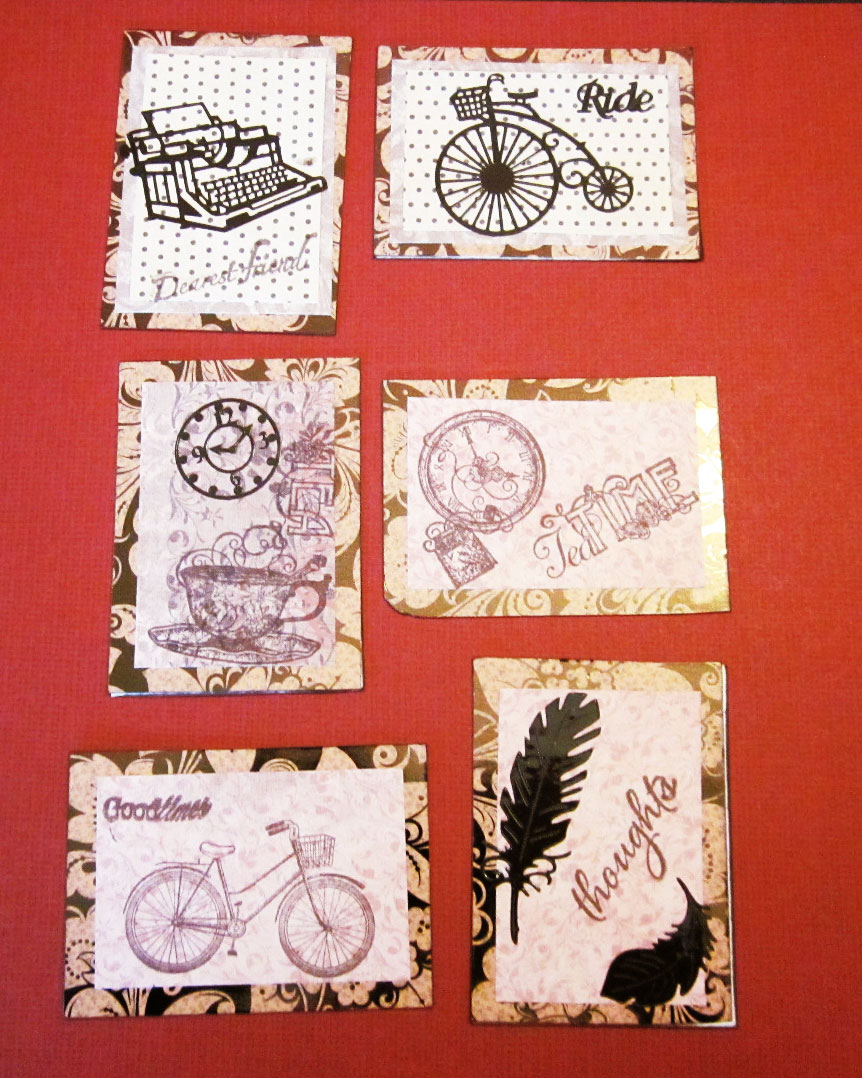
I decided to purchase the $15 Swag Bag and was really pleased with the contents for the most part. I imagine that the Swag Bag contents vary slightly from event to event, but there were quite a few products in this bag that I would actually use. For a list of the swag bag sponsors check this link: http://www.ckscrapbookevents.com/CKScrapbookConventions/CKCPhoenix/Sponsors/. The contents of my bag were:
- Prima fluid chalk ink edger
- Keller’s Creations 6 inch cardstock sheet with printed journaling blocks
- Queen & Co. 5 ½ x 6 ½ cardstock die-cuts sheet
- Lawn Fawn 6 x 12 inch alphabet stickers
- American Crafts 6 x 12 inch Thickers alphabet stickers
- Tombow Xtreme adhesive tape runner
- DCWV Border Stack
- Momenta Cut and Emboss dies
- Graphic 45 Le Cirque 12 x 12 paper pad
- A coupon from mymemories.com for a free download of their software, a free 6×6 photobook, and $10 credit at the mymemories.com online design shop.
I priced the items and they are worth about $90. I have to confess that it is extremely unlikely that I will download the software because I like my Photoshop and Illustrator and I can make my own designs.
 I attended the Heartfelt Creations Sweet Juliet cardmaking class, and had fun learning some new techniques. I had never used a blender pen with an ink pad. How did I miss this technique? I have been using blender pens with chalks. I got to use one of the flower curling tools, the one with the big ball at the end, and that was cool! And I got a credit for a free stamp pad at the Hearfelt Creations booth. Nice!
I had a quick look around the vendor booths before my class started and decided which booths I wanted to spend more time with. After my class and lunch, I went shopping. The values for the items were great. Overall, I had a great time, a fun day away from home. I will do this again!