Jaunty Father’s Day Card

jaunty father's day card

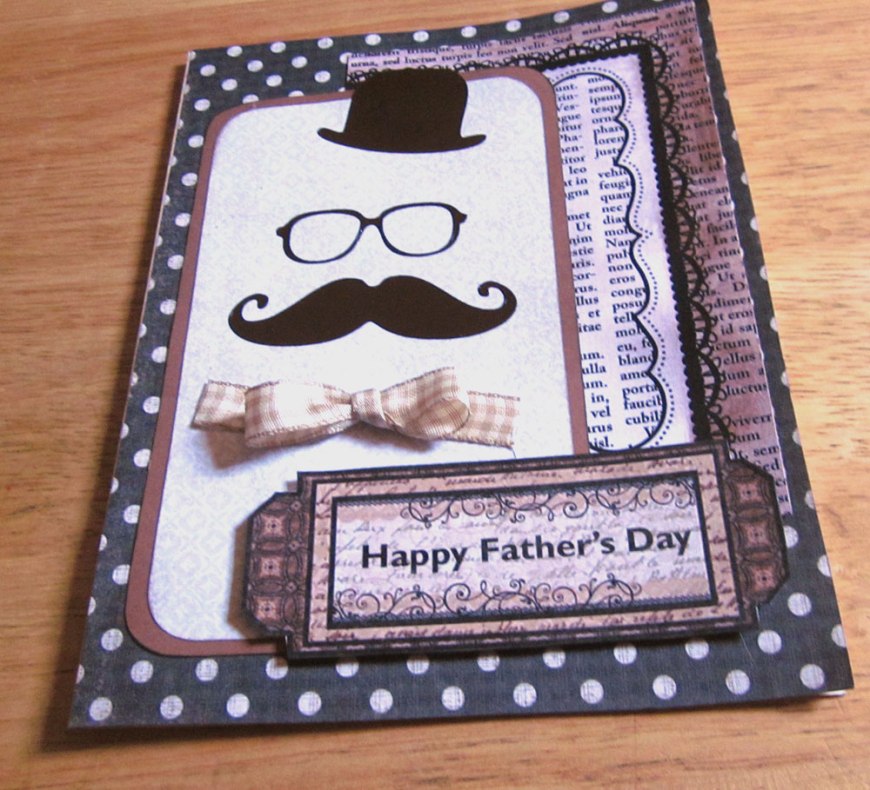
Masculine cards are always a challenge to make. Most of the papercrafting supplies available are more suited to feminine or children’s projects. There are more and more manufacturers who have heard our cry for masculine papers and materials, and are answering the call. This is a fun Father’s Day card that I created from the second half of the Ebony Floral Color Me Card Topper from Hot Off the Press.  As I previously mentioned in some of my blogs, I belong to a Dazzles Personal Shopper subscription program and I receive some stickers that are not generally available for individual sale.  The May 2015 kit included a brown version of the Rad Dad Dazzles (only for sale in black).  These Dazzles are a lot of fun; they are loaded with many different sized mustaches and glasses, a couple of hats, and other fun things including words such as: hipstar, rad, original, etc. You should take a look at the link that I have posted at the bottom of the page.

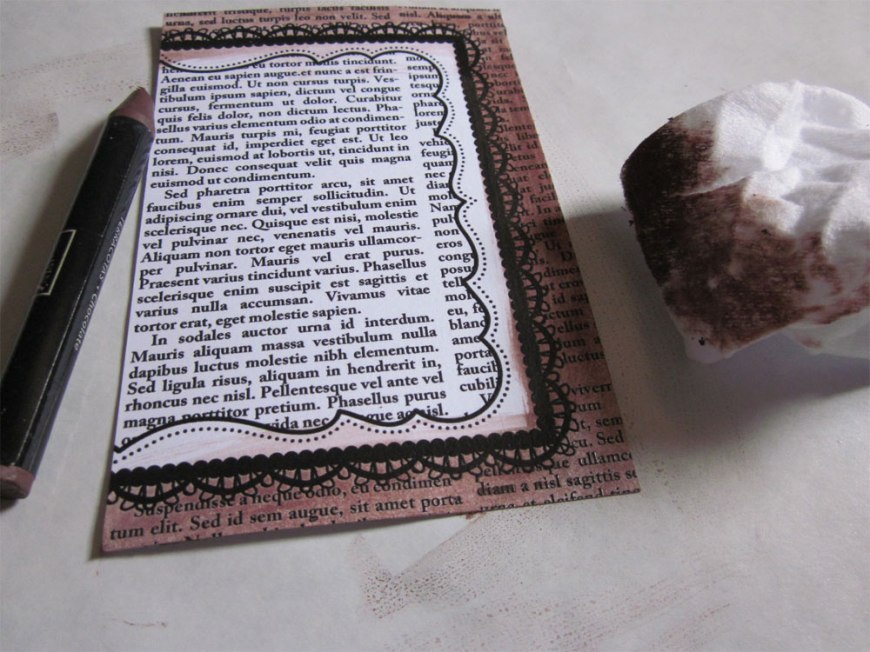
coloring with crayons and babywipes

I dug out some plain chocolate brown, cream tone-on-tone and some black paper with white dots from my stash for the card. I covered the front of an ivory 6 ½ x 5 inch card blank with the black and white paper. I put the text half of the color me paper along the top right edge, leaving a slim margin.  I then cut a 3 x 5 inch rectangle of cream tone-on-tone paper, rounded the corners, inked the edges with brown ink and matted it on the chocolate brown paper with a 1/8 inch border. I then inked the edges of the brown paper with black ink and layered the paper on top of the color me topper.  I chose the biggest mustache, glasses and hat from the brown Rad Dad Dazzles, and placed them on the cream paper, placing the hat at a “jaunty” angle. I then found a piece of ribbon from my stash that I thought would make a nice bow tie (tan gingham) and glued it below the mustache.

One of the great extras that Hot Off the Press/Paper Wishes does is to give you a free download for their paper packs. This is usually some labels and extra art. I had purchased a Chocolate Paper pack several years ago (thinking it would be good for masculine cards) and downloaded the page of tags and labels.  I computer journaled “Happy Father’s Day” on a label that worked perfectly for this project and placed it on the lower right corner of the card front. Unfortunately, the Chocolate paper pack and download are no longer available, but Paper Wishes does have other paper packs that would work well for masculine cards.

Supplies

Check out other paper and items at www.paperwishes.com.

Thank you for visiting my blog. I will be working on some more multi media techniques soon.

Aloha Card

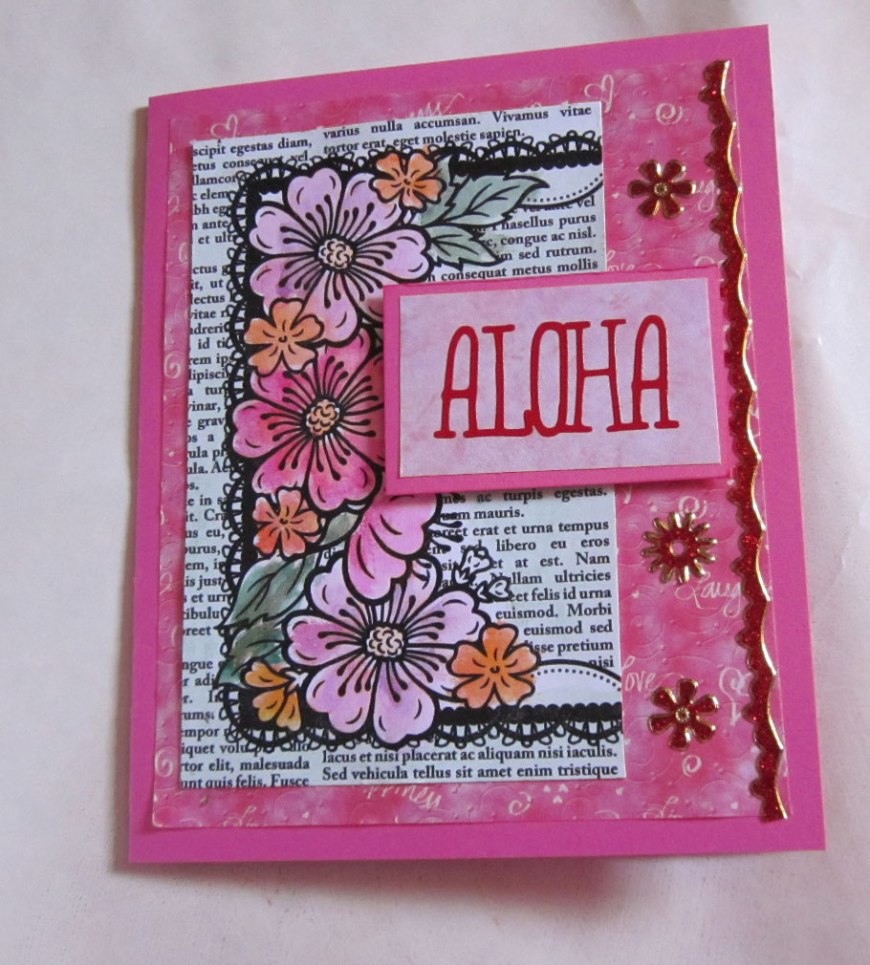
If you have been following my blog, I am in the beginning stages of trying different mixed media techniques. This is a card that I made from using Hot Off the Press’s Color Me Card Toppers. These papers are on glossy cardstock and have a raised, embossed image and come in all kinds of colors of the embossing: white, black, silver, brown, and copper. They are also available in 12 x 12 sheets. The beauty of using these papers is that you can color them whatever color you want, so you will always have that “perfect” color of paper.  Here is a link to a “Webisode” tutorial for using the Ebony Floral Color Me toppers: http://www.paperwishes.com/webisodes/?id=424.

aloha card

I chose one of the sheets that had a floral side and a “text” side, and cut the card in half.  I will be showing a project I made with the text edge in a couple of days. Today’s project is using the floral edge. I used Stampin’ Up “Watercolor Pencils” from a set I got in the early 2000s.  They are really crayons, not pencils. I believe that the watercolor pencils that they sell now are actual pencils.  I picked some pink and orange colors for the flowers and the end result was tropical in look. I used a light aqua alcohol pen for the background and and colored the flowers and leaves with the crayons. The technique I used was to scribble the crayons on the shiny side of freezer paper and use a wet brush to pick up the color.

aloha card inside

I went through my stash of cardstock and found a perfect pink and I cut the cardstock to make a 5 x 6 inch card. I fished through my papers and found some coordinating pink patterned paper.  I belong to Paper Wishes Premiere Dazzles Personal Shopper subscription service, and I had received some red Hibiscus Dazzles stickers a couple of months ago. There is an “Aloha” sticker in the set, which I thought was perfect for this card. I placed the “Aloha” on light pink paper and matted it with the leftover pink cardstock. I also used a red jewel border Dazzle sticker along the right edge of the card, and I had some red tiny flower Dazzles that were a perfect match and I placed them on the edge

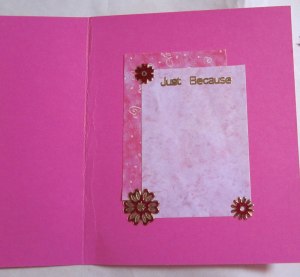
For the inside, I cut two 2 ½ x 3 ½ inch rectangles and placed the darker pink print paper slightly offset behind the lighter pink paper. I chose a “Just Because” tiny gold Dazzles sticker, and added some more red flower Dazzles.  This is a nice bright, summery card to send to anyone.

Materials Used: 

Your choice of coloring media

All these items can be purchased from www.paperwishes.com

Link to previous blog posting: https://prettycolorful.wordpress.com/2015/05/25/beginning-with-mixed-media/

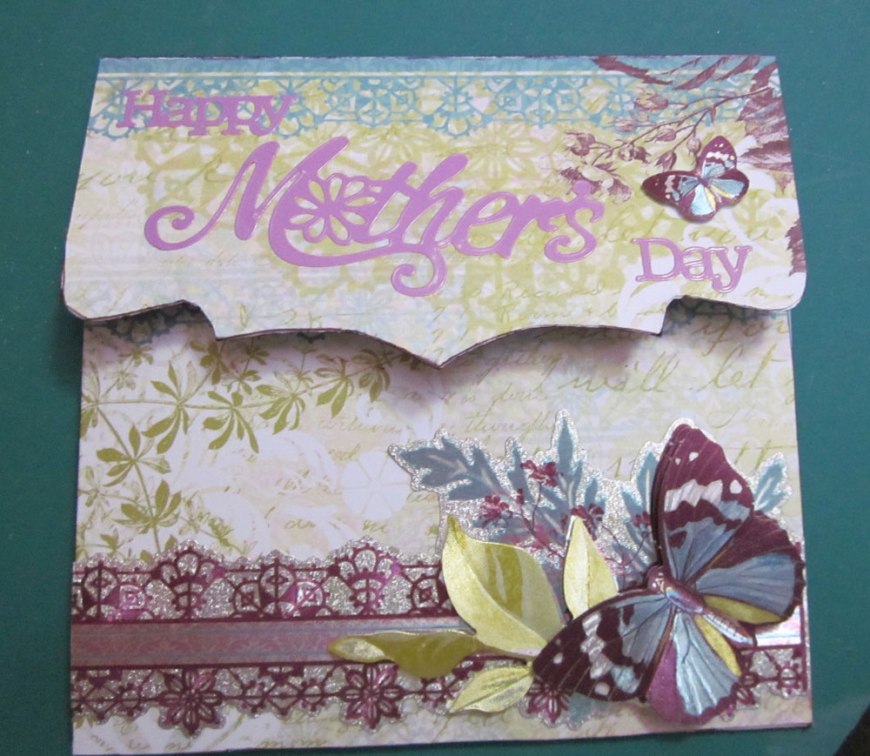
Mother’s Day Pull-up Card

Pull-up Mother's Day card

Pull-up Mother’s Day card

I have been absent from blogging for the past few months because of my knee.  This has been a little depressing for me since I really love to craft and I wasn’t able to move around much. The problem has been identified and I am getting treatment for my poor knee (advanced osteoarthritis). So, I am easing myself back into my crafty ways and decided that I should start with a nice, simple Mother’s Day Card.

For those of you who follow my blog, you probably know that I am a big fan of Hot of the Press’s products. I started making cards using their kits, and their products have been getting better and better over the years. Paper Wishes is their online and catalog sister company that sells HOTP products along with a lot of other craft products (www.paperwishes.com). One of the nifty things that you can get from Paper Wishes is a monthly Personal Shopper Kit. I get two: Premiere Dazzles and Paper Tole. In the April 2015 Dazzles kit was a “never before seen Dazzles” for lavender Mother’s Day Dazzles which are only in black on their website. A few months ago I received the Unforgettable Foil Paper Tole kit and I thought that these items would make a great Mother’s Day card.

The Dazzles monthly kit always has some extra goodie, and a few months ago I received a die-cut pull-up card (it comes in two pieces). This makes a cute little pocket card that measures 5 x 5 inches square. So, with just some glue, ultra tape and foam squares, I had enough items from my Personal Shoppers kits to make this cute Mother’s Day Card.

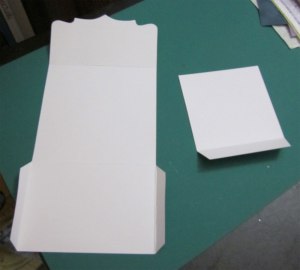
HOTP die-cut pull-up card blank

HOTP die-cut pull-up card blank

Supplies:

Step 1

Fold the die-cut card base at the score lines.  Fold in the two flaps on the card and apply ¼ inch ultra tape. See photo for placement.  For the pocket piece, mountain fold the tab and put the ultra tape on the bottom edge of the tab on the back.  If you look at my photos you can see how I place the pieces together.

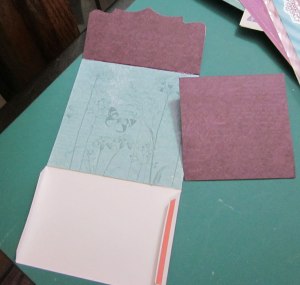
Inside of the pull-up card blank.

Inside of the pull-up card blank.

Step 2

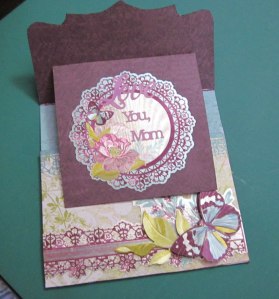
Glue decorative paper to the inside of the card. I used the plum paper for the pocket piece and the top of the die-cut edge.  I trimmed the paper along the die-cut edge.  I only glued the plum paper to the pocket piece that shows, leaving the back white. I glued the aqua printed paper to the middle of the inside of the card, leaving the bottom plain. Then I took the orange liner off of the two flaps and glued the bottom to the aqua paper in the middle, forming the pocket.

I used the only the bottom layer of the scalloped oval frame image from the Unforgettable Paper Tole, and glued it to the center of the pocket piece.  I then applied the words “Love you Mom” from the lavender dazzles to the image.  I placed the folded edge of the pocket piece so that the bottom of the top flap sits just slightly above the score line, and glued the flap down. I then tucked the pocket piece into the pocket.  When you lift the flap, the pocket piece slides up from the pocket;  you can have fun just opening and closing this card.

mother3

Step 3

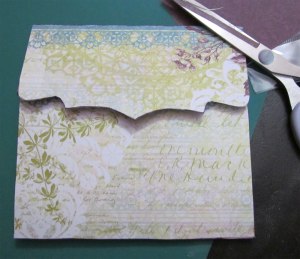
I glued the floral printed paper to the outside of the pocket and the flap (the front of the card).  I trimmed the edge of the paper along the die-cut edge of the card. I then inked all of the edges of the card with purple ink. I glued the lacy floral/butterfly paper tole piece to the bottom of the card so that the butterfly aligns with the right edge and trimmed the excess off the left side. I then layered the paper tole butterfly images using foam tape. The images are all numbered on the paper tole sheet so you just follow the numbers. I applied the “Happy Mother’s Day” Dazzle stickers to the top flap and added the little extra butterfly artwork at the top right edge.

Pull-up card center flap.

Pull-up card center flap.

This makes a very nice little card, and you can tuck a little something into the pocket as well.

Paper Wishes Premiere Dazzles Personal Shopper:  http://www.paperwishes.com/personal-shopper/pd/monthly-premiere-dazzles.html

Fun new ways to make gift card holders.

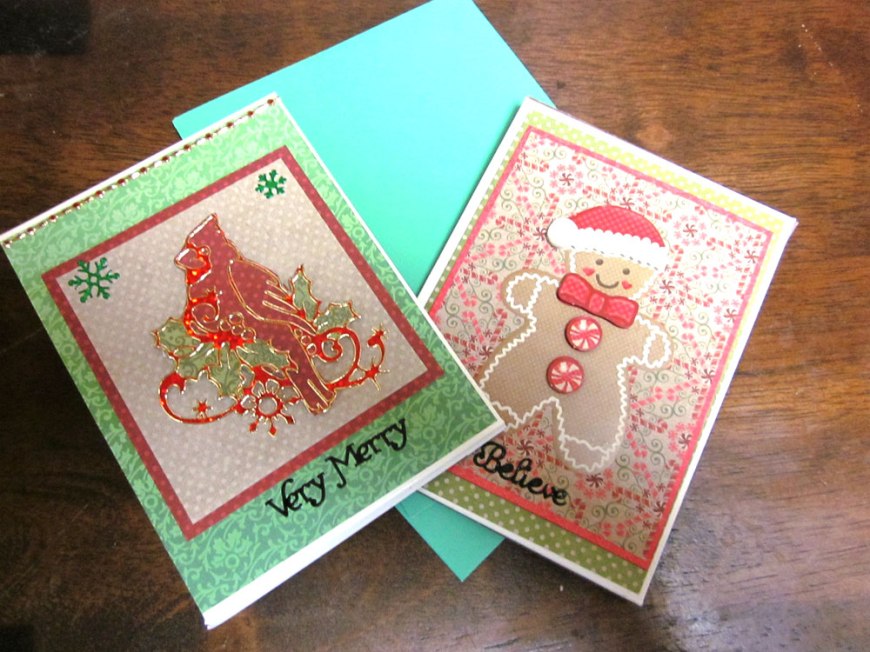
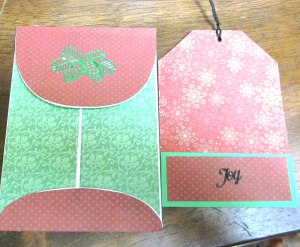
Christmas gift card holdersI made these gift card holders using coin envelopes from Hot Off the Press. I thought that I would use up some of my Christmas paper stash of paper scraps and embellishments to see what I could come up with. I came up with a Gingerbread Man and a cardinal. I made some tags with a pocket to hold the gift card, just basic tags since I needed to have a little extra length to form the pocket at the bottom. I put a Velcro closure on the back of the top closure. The gift card coin envelopes can be re-usable. You can also use the coin envelopes to tuck in all kinds of small, thin gifts like: cash, earrings, necklace, bracelet, movie tickets or a gift certificate.

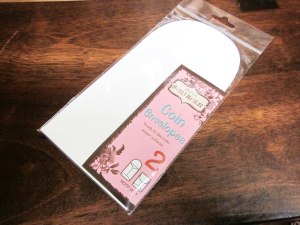
coin envelopesThe coin envelopes come unsealed, and have a glossy side and a matte side. You can stamp on them, ink them or do any kind of multi-media project with them. I just chose to use up some of my paper scraps. I had one image left from my Christmas Sweets paper tole, which was a gingerbread man.  I chose this as one of the focals.  I used scraps from my Christmas Sweets paper for both of the envelopes, and I used a cardinal sticker for the focal of the other card. I layered the sticker on scraps of red and green paper. A good tip for doing this is to use the acetate packaging, such as the one for the envelopes, to stick down the sticker while you manipulate pieces of paper to cut around. It keeps the sticker tacky and you just need to lift up the bits that you want to stick to the paper. I had a special addition red cardinal sticker set that is not available for purchase, but there are gold and silver stickers that you can buy.

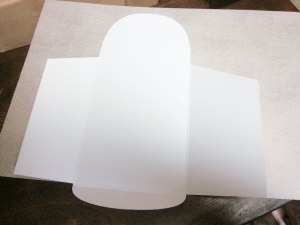
tracing coin envelopeI recommend that you trace the main body of the envelope shape on paper, then fold back the wings and trace then center portion of the envelope. Cut the paper into the three sections, and trim each of them down a little. You don’t want the paper to cover any of the fold lines. I also traced the top and bottom flaps on paper. You can ink the edges of the paper if you want. You can even ink the sides of the envelope before you glue the paper down if you don’t want to have a skinny white border. Glue the paper to the envelope. I used a good glue stick and that seemed to work out just fine. I did use ultra-tape to stick the back flaps together, and the bottom flap (the smaller oval) just to make sure that they stayed glued. And I happened to have a pack of Velcro circles and squares that were just perfect for the closure on the back.

coin envelope and tagFor the tag: I cut a 5 ¼ x 3” rectangle of cardstock, scored 1” from the bottom and folded it.  I measured ¾“ from the top sides of the card and trimmed to form the traditional tag shape, I covered the tags with paper and punched a hole at the top. I threaded pearl cotton through the hole. I used ¼ “ ultra-tape to glue the sides of the pocket, glued a ¾ x 2 ¾’ strip of paper on the front of the pocket and stuck a black Dazzles Christmas sticker on the front. I used “Oh what fun!” and “Joy” for the tags and “Very Merry” and “Believe” for the front of the envelopes.

Materials Used: (www.paperwishes.com)

The coin envelopes were quick and easy to make.

I love Paper Wishes Week of Webisodes!

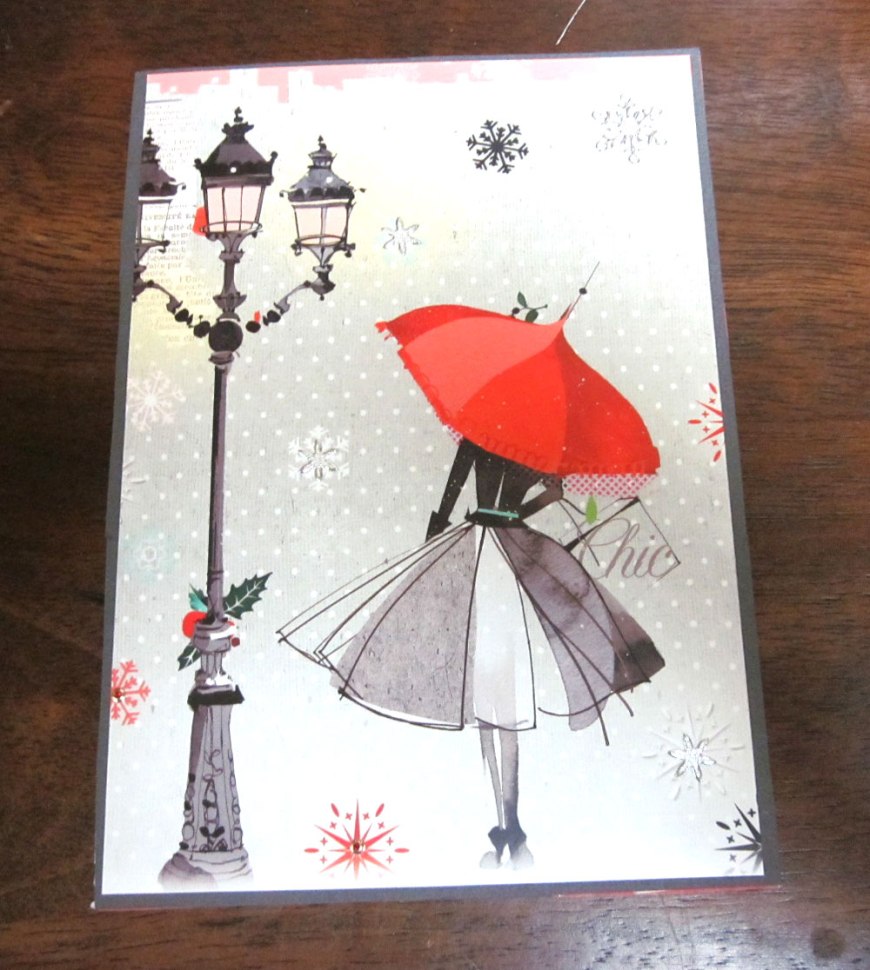
Woman with Red UmbrellaI am a big fan of getting creative ideas anywhere I can get them. If you are a papercrafter, be it cards or scrapbooking, one of the best resources is http://www.paperwishes.com/. Every Wednesday they post a new webisode that not only showcases new products, but they give you tips, tricks and examples. The webisodes are between 15 minutes to a half-hour in length. Plus, they archive every webisode that they do. In addition, they also have a link to a blog Simply Ann that also is new every Wednesday. Ann Barba is the blogger and she posts a video demonstration of a project, usually a card.
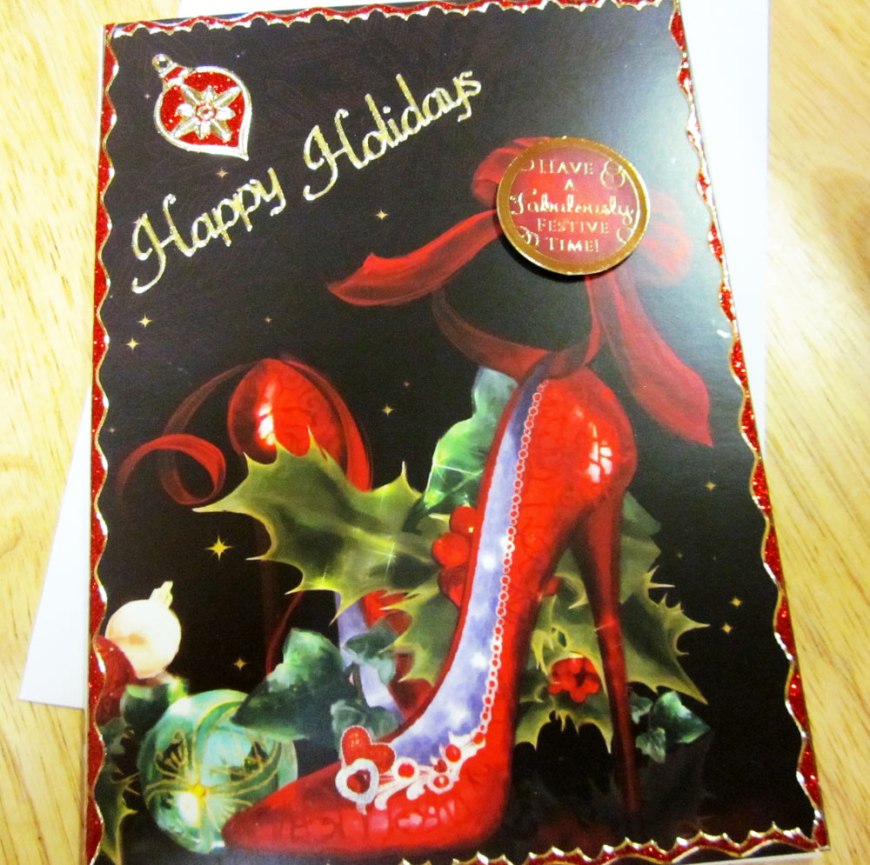
This week, November 3-7, 2014 there is a Week of Webisodes. They are showcasing Christmas kits from Hunkydory Crafts. I have noticed a few people searching for tutorials on Hunkydory’s Warmist Wishes/Windows to the Heart Christmas kit in the statistics section of my blog. I bought a Hunkydory Christmas kit a little over a month ago and have posted a couple of cards that I have made. I’m pretty sure that there will be a webisode for the Contemporary Christmas card kit. I am sharing images of a couple of cards that I have made from this kit. I am selling them in my Etsy shop (prettycolorful). You may wonder why I don’t post a link, it’s because my WordPress account doesn’t allow me to post links to sites where I sell stuff.
Here’s a link to the webisodes: http://www.paperwishes.com/webisodes/index.php?page=choose&WT.hotp_ct=home-webisode-boxHappy Holidays Red Shoes
I am an independent crafter and do not represent any particular company. I just blog about things that I like to use.